Step 2.3
Create vRO vRA Host
| Location | Notes |
|---|---|
| vRO client | Create a vRA Host via vRO workflow The default vRA host will not work for the SovLabs plugin. The vRA Host must be Shared Session mode. If using the vsphere.local tenant, the name must begin with sovlabs_ |
1. Login to the vRO client
2. In the Workflows tab, go to: Library > vRealize Automation > Configuration > Add a vRA Host

Add vRA Host - vRO fig. 1 Screenshot
Add vRA Host - vRO fig. 1
3. Right-click the workflow and click Start workflow and fill out the form:
| Field | Value | Note |
|---|---|---|
| Host Name | Name to use for vRA Host endpoint | If installing the SovLabs Plugin in vsphere.local tenant,begin the hostname with sovlabs_ (e.g. sovlabs_vra01.example.com) |
| Host URL | vRA URL (e.g. https://vra01.example.com) |
No port number |
| Automatically install SSL certificates? | Yes | |
| Connection Timeout | Keep default | |
| Operation Timeout | Keep default | |
| Maximum page size… | Keep default |
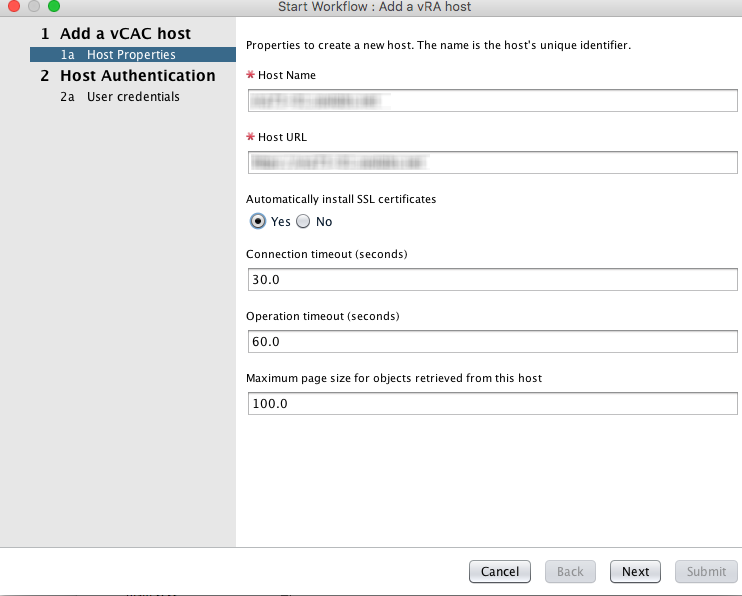
Add vRA Host - vRO fig. 2 Screenshot
Add vRA Host - vRO fig. 2
4. Click Next in the form wizard:
| Field | Value | Note |
|---|---|---|
| Session mode | Shared Session | *Must be Shared Session, not Per User |
| Tenant | vRA tenant in which SovLabs Modules will be installed | This is case-sensitive! |
| Authentication Username | vRA Service Account user | Use sov_admin@vsphere.local (or other vRA user setup in Step 1.1) |
| Authentication Password | vRA Service Account user’s password |
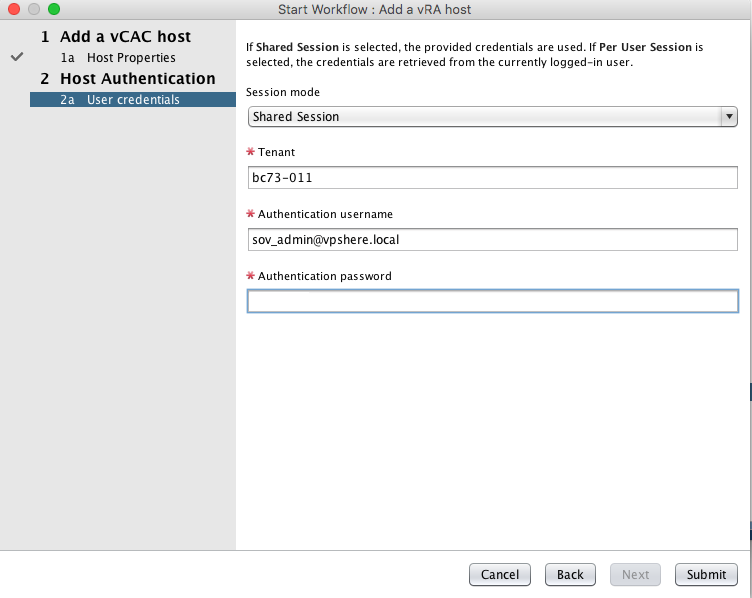
Add vRA Host - vRO fig. 3 Screenshot
Add vRA Host - vRO fig. 3
5. Click Submit in the form wizard
6. The workflow should finish successfully
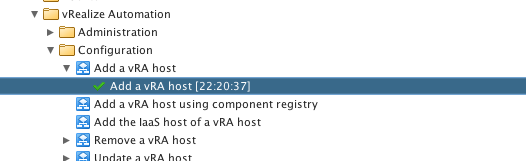
Add vRA Host - vRO fig. 4 Screenshot
Add vRA Host - vRO fig. 4
New inventory item for the vRA host will be in Inventory tab in the vRO client
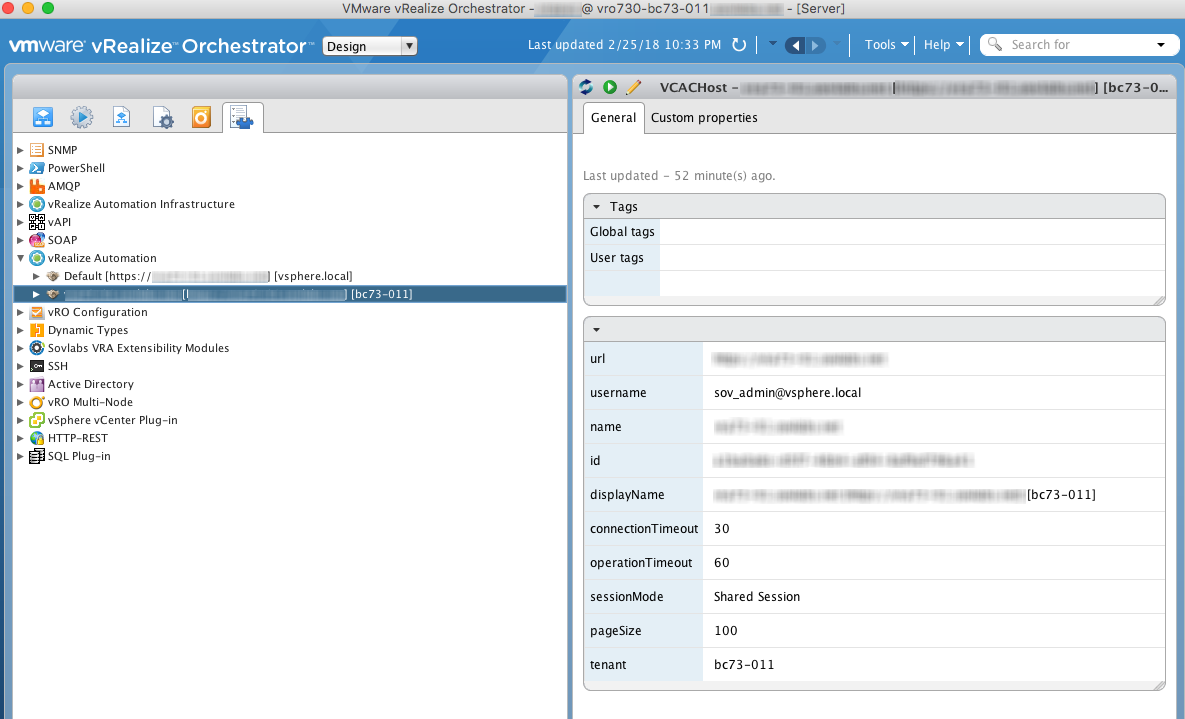
vRA Host in Inventory - vRO fig. 1 Screenshot
vRA Host in Inventory - vRO fig. 1